


.jpg)

Well, I have been down with a sinus infections since last Friday. We had a sad family event to attend over the weekend, so I powered through. My husband's beloved Uncle died suddenly and we attended his wake and funeral service. It was a beautiful tribute to a man who was everyone's friend.
I started to feel better yesterday and have been very busy with my fabric bucket. First I had to iron all the fabric I have been storing since February, then cut all the fabric into strips to fit into the Big Shot, as shown above.

Then I had to cut the batting that goes in the center of the quilted squares, I made the square sandwich, two pieces of fabric cut with the big shot clear scallop square die, with a 3in square in the center.
I quilted the square diagonally both ways.

Here is an assembled bag. It still has ways to go and I will show you the completed project, but just wanted to let you know what I have been busy doing.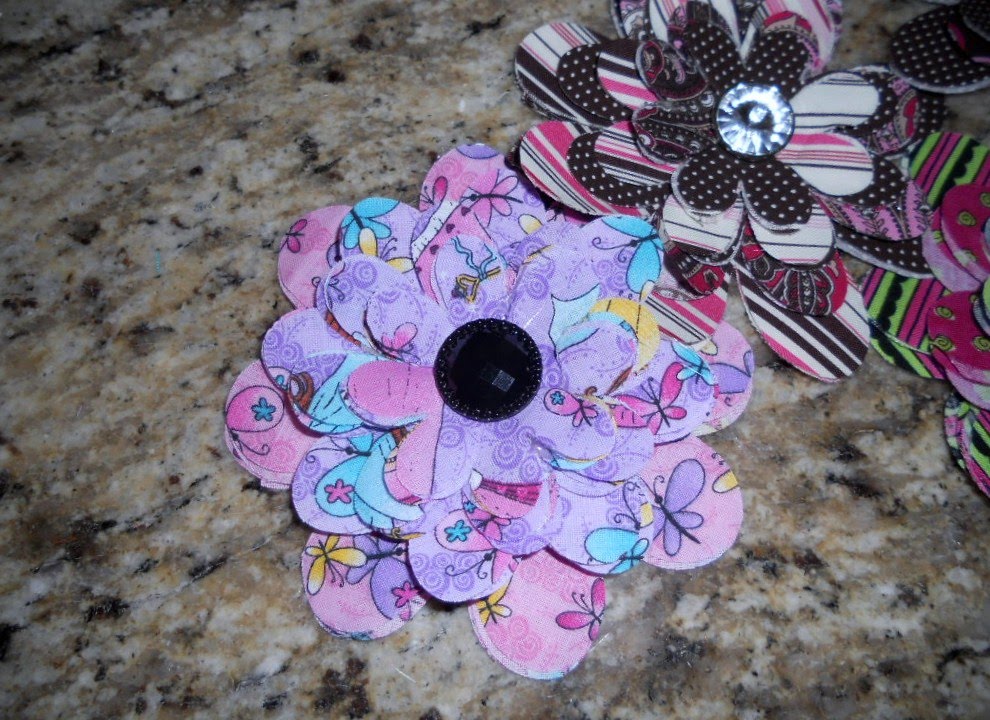
These are flowers made with the large flower die for the big shot, that match some of the rag bags I have been making.
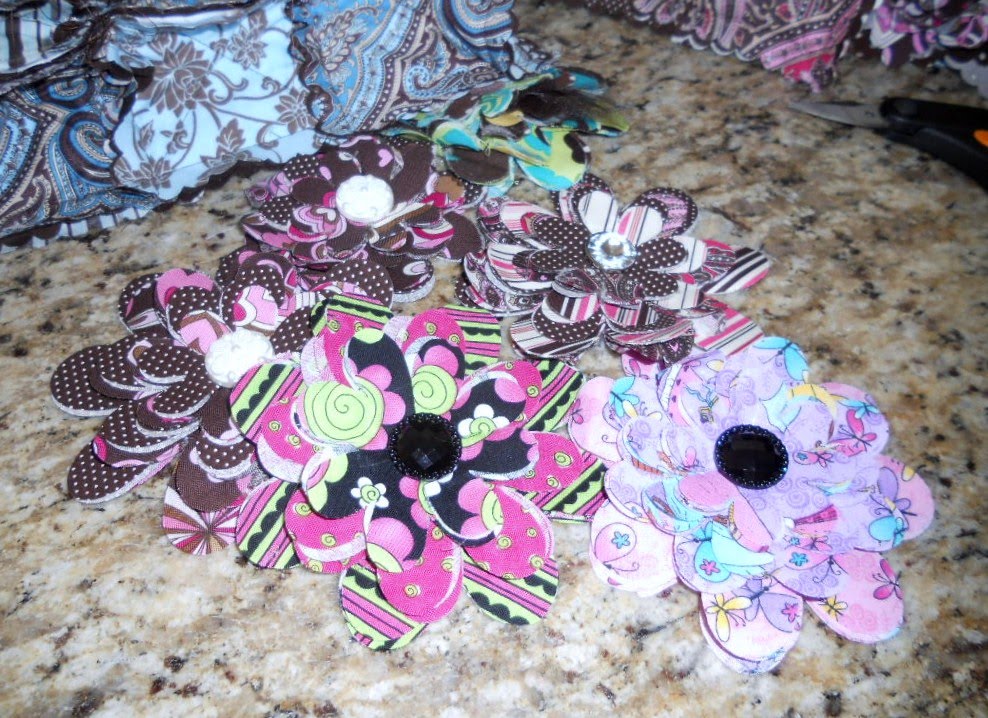

These are flowers made with the circle big shot die. The are made with a syntheic fabric so they can be melted and shaped. I adhered them to a headband.

More to come, I just wanted to show you the progress I have made! My kitchen is crazy with all the stuff spread out!
Thursday, November 11, 2010
Where have I been?
Friday, November 5, 2010
Quick Dasher

This quick Dasher was cased from yet somewhere on the web, I get all my inspiration from so many fellow stampers.
Supplies:
Whisper White Cardstock
Early Espresso Cardstock
Early Espresso Classic Ink
Dasher Stamp
Real Red 5/8 Satin Ribbon
Vintage Wallpaper Embossing Folder
Scallop Trim Border Punch
The base of the card is whisper white cardstock, I used a piece of Early Espresso Cardstock that was 4.25 x 5.5. I used the embossing folder on it then I cut it in half. I then used the Scallop Trim Punch for the border. The ribbon is tied around the Early Espresso Cardstock. It is really a simple card but does look very elegant.
Wednesday, November 3, 2010
With Sympathy....


I unfortunately am in need of Sympathy cards. I made this beautiful one yesterday.
Supplies:
Thoughts and Prayers Stamp Set
Cajun Craze Cardstock and Ink
So Saffron Cardstock
Always Artichoke Cardstock and Ink
Always Artichoke grosgrain ribbon
Jewels From Stampin' Up! - Basic Pearls
Vintage Wallpaper Embossing folder for my Big Shot
Tuesday, November 2, 2010
Who, Who, Who is super cute!

This cute card is made with Designer Paper from Fall 2009, so the More Mustard is a current color, the real rust and the sage shadow are retired. I used Early Espresson for the brown, because I just love how rich it looks. Punch Number 3 in the 2010-2011 Stampin' Up! Idea Book and Catalog. The two step owl. It was much easier than I thought it would be to put together. I used Square Lattice Embossing Folder from the big shot to texture the first layer. Thankful thoughts of you comes from Grateful Greetings.
Monday, November 1, 2010
Fancy Pumpkin!

Big Shot Dies
Large Scallop Circle
Vintage Wallpaper Embossing Folder
Leaves #2
Other Supplies:
Old Olive Cardstock
Pumpkin Pie Cardstock
Very Vanilla Cardstoc
Stamping Sponge
Old Olive Classic Ink
Grateful Greetings Stamp Set
Stampin Up #42 Oval Punch
Stampin Up #19 Scallop Oval Punch
Sticky Strip (a must)
Bone folder
I think that's all! I cased this from somewhere, where is always a mystery to me. I surf the web with a stream of crazy. Here are some quick and dirty directions, where ever I found the pic there were no details so I winged it!
I cut 2 Large Scallop Circle with Pumpkin Pie, then I put them through the big shot with the Vintage Wallpaper Embossing Folder. (one at a time in the embossing folder) I used my Bone Folder to score the bottom to fold over the one edge. I scored it 3/4 if inch from the edge.
To create the box in the center: I am going from my scribble notes on my grid paper, if this doesn't work please let me know. You need to cut a piece of pumpkin pie cardstock to 4.25 by 9.50. On the 9.50 edge score at 3, 4.5, 7.5, 9 on the 4.25 edge score at 1.5. This is a basic box, fold your folds cut your bottom up to the score line, etc.
The handle is old olive card stock, 1 in by 8.5. I secured the handle to the bottom of the box, folded in over and secured it where in landed and it worked great. With sticky strip of course.
I sponged the leaves and ran a few through the embossing folder, I didn't have any DSP that was current and matched, that would look cute too and was on the original I cased this from.